Recently my external hard drive of a couple years finally bit the dust after having an actual spinning disk time of a couple years.
I got a great deal from DataHoarder for a new 3TB external from Seagate which is double what I had before. Wanting to keep all my pictures and documents from over the years safe and encrypted, I used the Disk Utility in Ubuntu to encrypt the entire volume. Mounting this drive couldn't be easier in Ubuntu as the prompt for the passphrase pops up as soon as it is plugged in.
Unfortunately, on a headless machines such as the Raspberry Pi this is not the case and I had to do some trial and error to figure this out since no one seems to want to do this at the command line. Luckily, it's pretty simple.
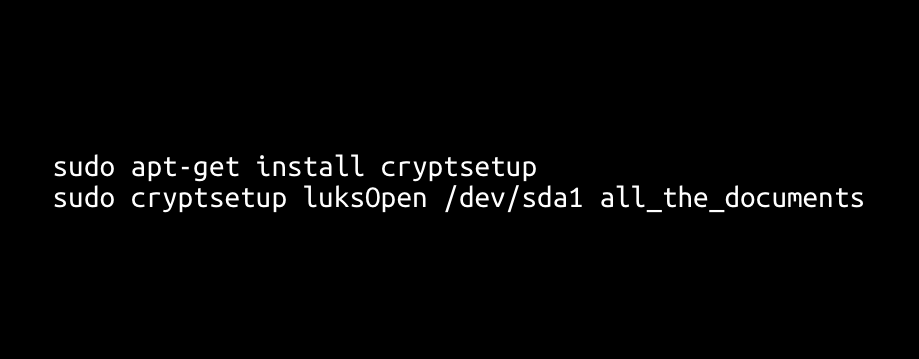
First make sure you have cryptsetup installed:
sudo apt-get install cryptsetup
Then you need to 'open' the volume with cryptsetup. You need to know the disk path such as /dev/sda1 and you can get a list of all connected devices with sudo fdisk -l:
sudo cryptsetup luksOpen /dev/sda* name_for_volume_mapper
At this point you should be prompted for the passphrase you used to secure the volume. As a simple rule, your passphrase should follow this simple guide. Upon successful recall and entry of your passphrase, you can now mount the drive.
sudo mount /dev/mapper/name_for_volume_mapper /mount/location
One last point is that I think hard drive parameter defaults are a bit varied (and I think it depends on the OS in use) but I didn't want my external to be constantly active. What I found that worked for my Seagate was to reduce the Advanced Power Management value so that the drive was a bit more aggressive in going to sleep after being in use. Since I use it just for storage and as a Apple TimeMachine the I/O is not very frequent and thus it can laise about again shortly after a transfer is finished. Note that increasing this value beyond 128 will make the drive never go to sleep. From the manpage:
-B get/set
Advanced Power Management feature, if the drive supports it. A low value means aggressive power management and a high value means better performance. Possible settings range from values 1 through 127 (which permit spin-down), and values 128 through 254 (which do not permit spin-down). The highest degree of power management is attained with a setting of 1, and the highest I/O performance with a setting of 254. A value of 255 tells hdparm to disable Advanced Power Management altogether on the drive (not all drives support disabling it, but most do).
To do this, first you need hdparm:
sudo apt-get install hdparm
Then you can play with the huge variety of settings available to you depending on your drive. By default the APM -B value starts at 128. I found that by changing this to 32 seemed to be about where I wanted in terms of time it will wait before spinning down.
sudo hdparm -B 32 /dev/sda*
You can get the current value by omitting the value:
sudo hdparm -B /dev/sda*
Another tip is that you can instantly sleep the drive by using -Y:
sudo hdparm -Y /dev/sda*