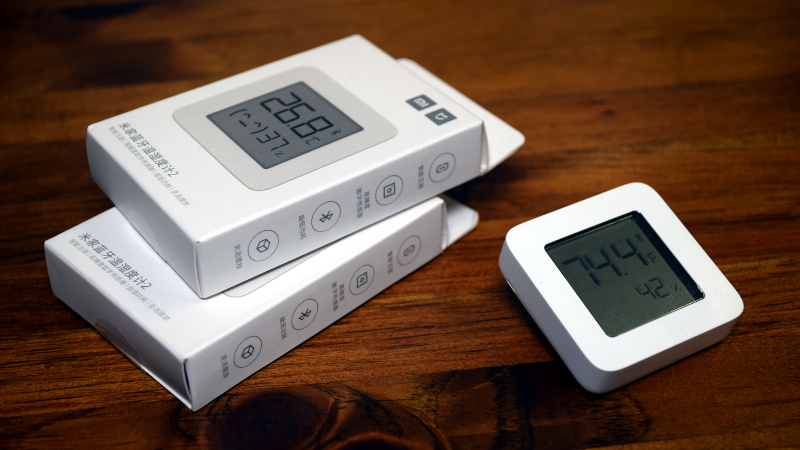
My current house in Melbourne despite being relatively new, is quite drafty and I was getting quite tired of either being cold or hot because doors and windows were just letting in outside air while the aircon was letting all the dollars out of my wallet. Electricity for antipodeans comes at quite the premium. But, I wanted to be sure that the small improvements I was doing in my rented space were actually working. Seemingly right on schedule, I heard about the Xiaomi Hygro thermometer, lovingly known as LYWSD03MMC on selfhosted.show and my journey began.
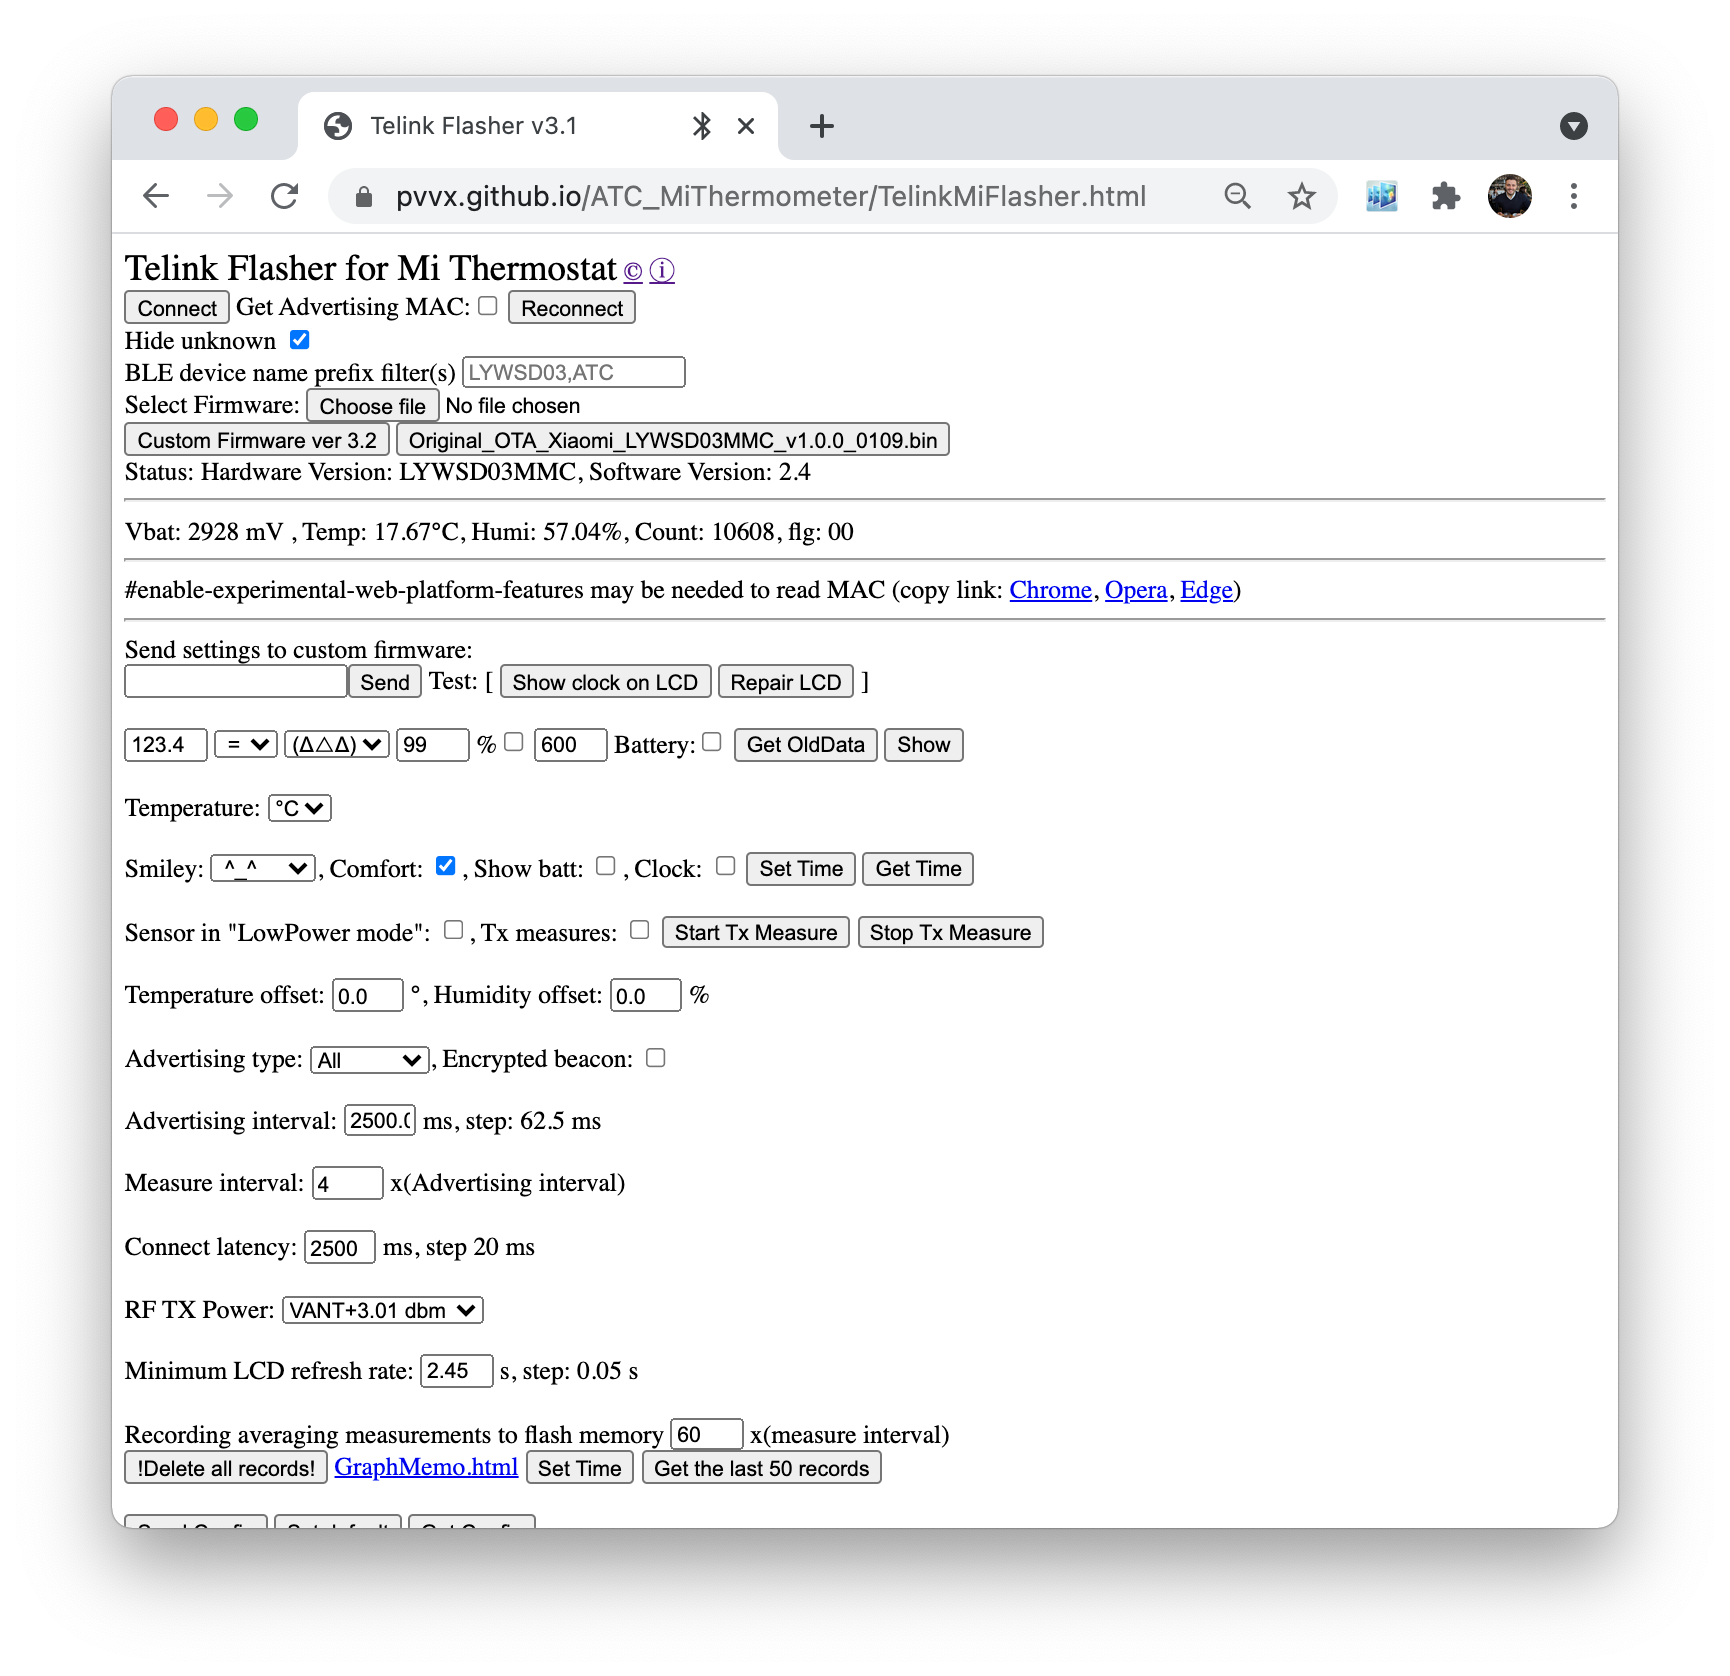
The beauty of this device, as I came to find, is the fact that this guy spent a long amount of time reverse engineering the baked in software lock which makes them only compatible with Xiaomi's mobile app. Now the data from these sensors can be used by anything after you load custom firmware via the awesome browser-based flashing tool he also created.
The custom firmware allows you to do heaps of things starting with the plaintext broadcasting of the sensor readings, broadcasting timing changes, emoji changes, and other refinements for your specific scenarios.
 atc1441
Using these devices in conjunction with Home Assistant, you now have a winning combination. Since dashboarding and history kind of come out of the box with HA, this would really allow me to visualize and measure temperature in my space. I really struggled to find the correct component given there are so many integrations with Home Assistant and ESPHome yet this device doesn't have a flashable microcontroller as far as I know. Yet, I finally found this custom component that worked perfectly with this family of devices.
custom-componentsInstalling it is just a matter of creaing a new custom_components/ble_monitor directory inside your Home Assistant directory and placing the contents of custom_components/ble_monitor/ from the above repo in there.
Of course your directoy structure will vary, in this case I mount the /nfs/docker/hass/ folder to the /config path of my Home Assistant container but this should exemplify what you need to do and what you should see inside the directory.
$ pwd
/nfs/docker/hass/custom_components/ble_monitor
$ ls
aioblescan_ext.py  binary_sensor.py  config_flow.py  const.py  __init__.py  manifest.json  __pycache__  sensor.py  services.yaml  strings.json  translations
pwd and ls of ble_monitor directory inside Home Assistant working dirAnd then, while there is plenty of configuration knobs and whistles within the ble_monitor component, all I needed to do was include the following in my configuration.yaml file for Home Assistant and then upon restart my Home Assistant instance was able to pick up the sensors broadcasting their readings.
ble_monitor:Because I run my Home Assistant instance within a Docker container, I needed to also expose the Bluetooth device to it so the component could listen to the sensor broadcasts. I found that for my specific Docker host on a Intel NUC8, I only needed to use network_mode: host in my Docker Compose file. I attempted to mount the USB controller device directly to the container but this didn't seem to work as intended.
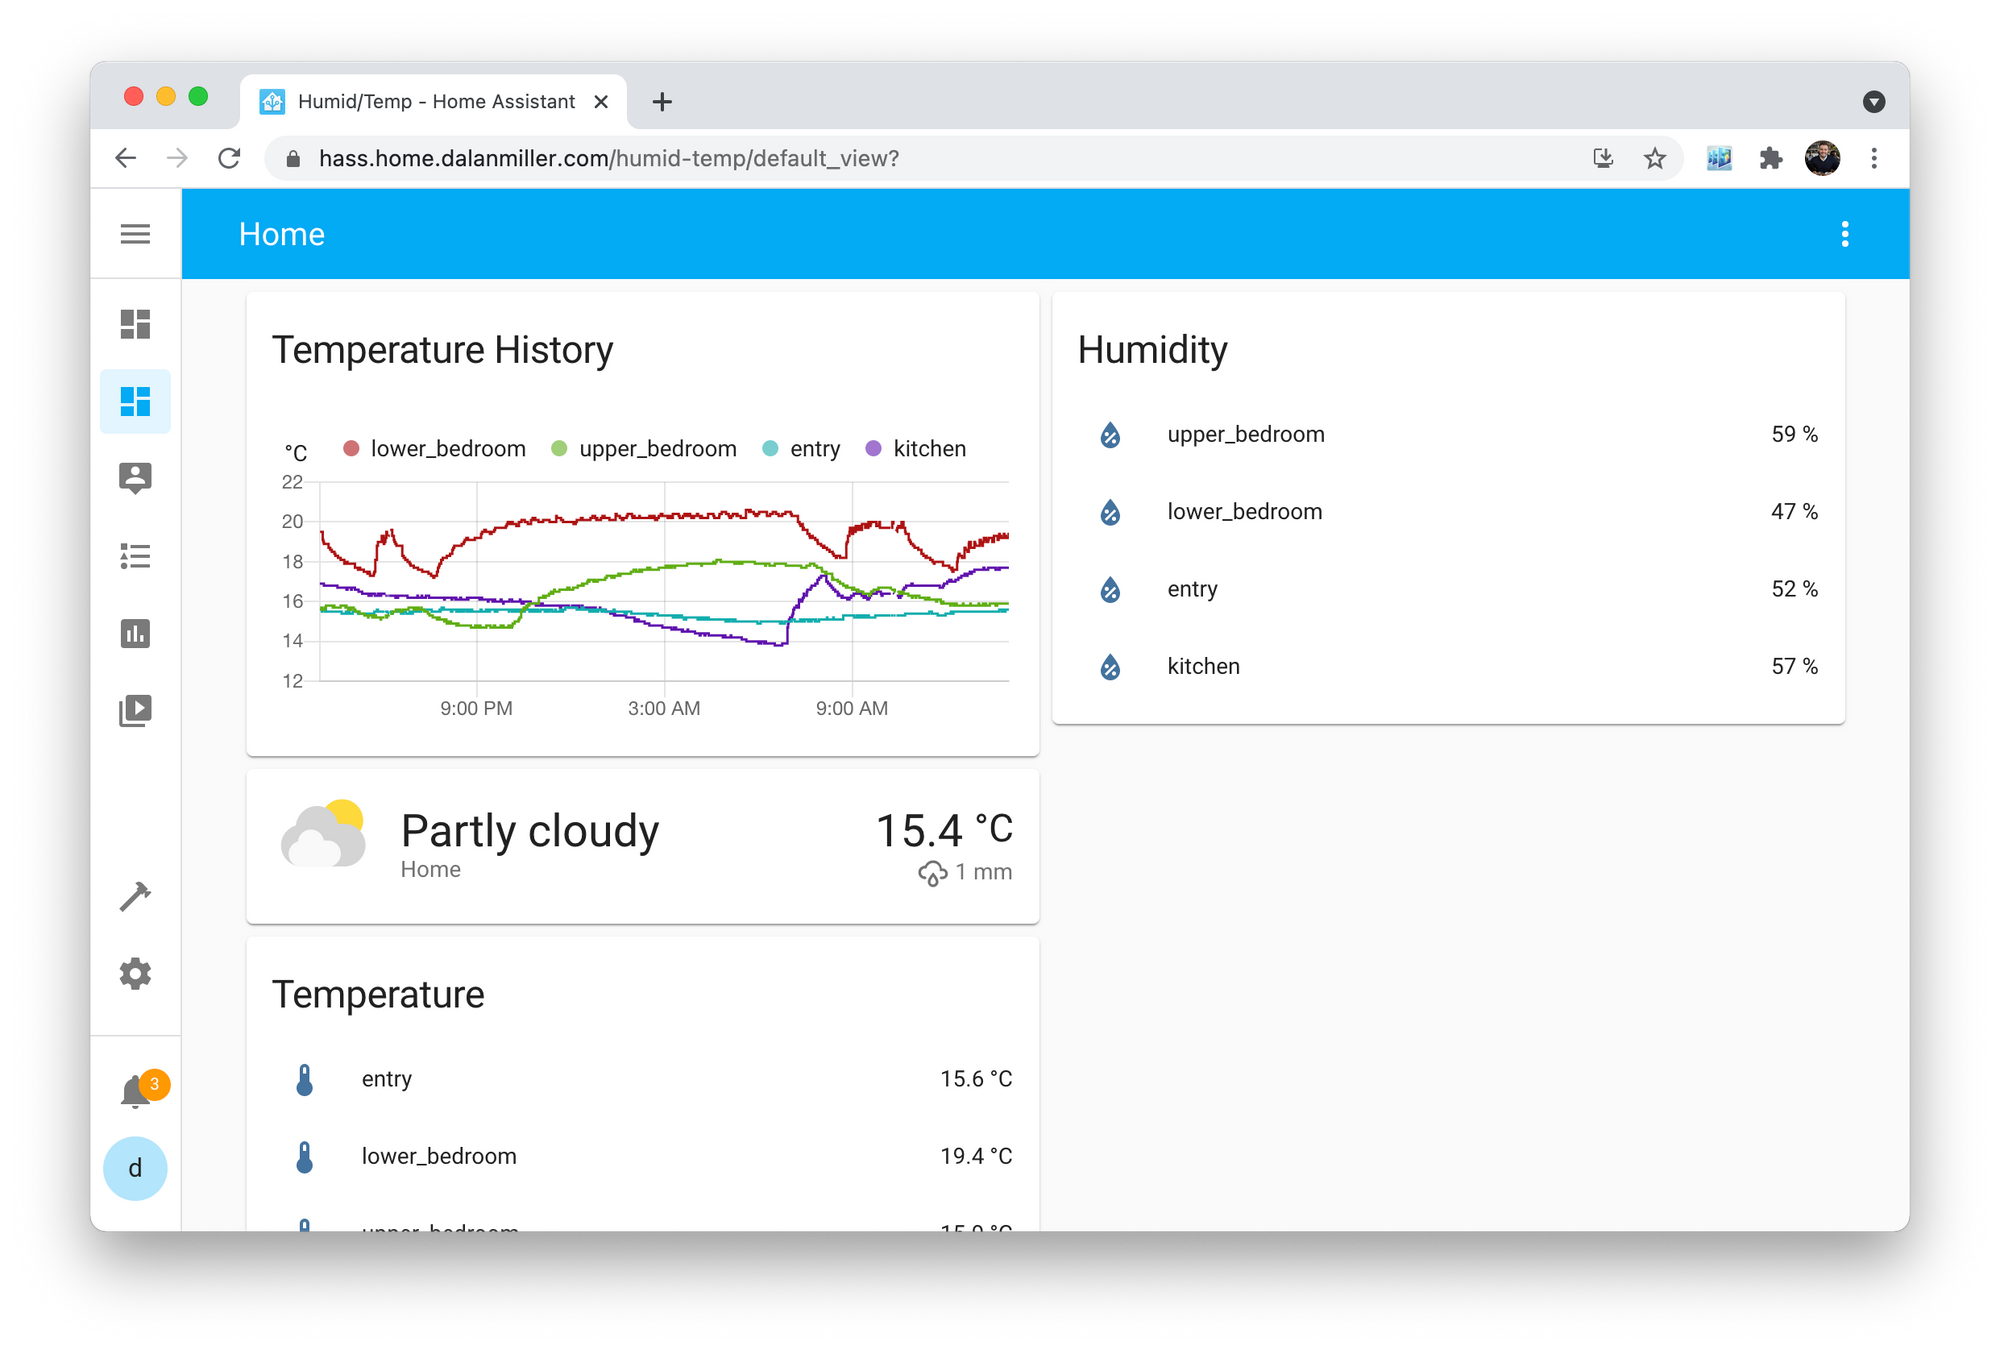
And now I have a handy new dashboard for monitoring temperatures throughout the house! 📈
Reference
I found this Hackaday article after the fact but thought it had some good examples on reading data from these thermometers using Python without using Home Assistant.
 Tom Nardi